Trying to eat gluten free is one of the hardest things I have ever tried to do - I love wheat and wheat products. While being a celiac is not something we have to deal with, Corenne and I both have sensitivity to wheat. With this said, we try our hardest to avoid as much wheat as possible and we have found that on the trail it isn't as hard as it might appear. It just takes a little recipe trial and error - unless you want to rely on processed bars & sandwiches each and every time you head out. We have done a lot of leg work on this, and offer you up a few of our favorite treats and 5 recipes that we have tweaked over the years and found to be very fulfilling.
Processed snack bars and energy bars
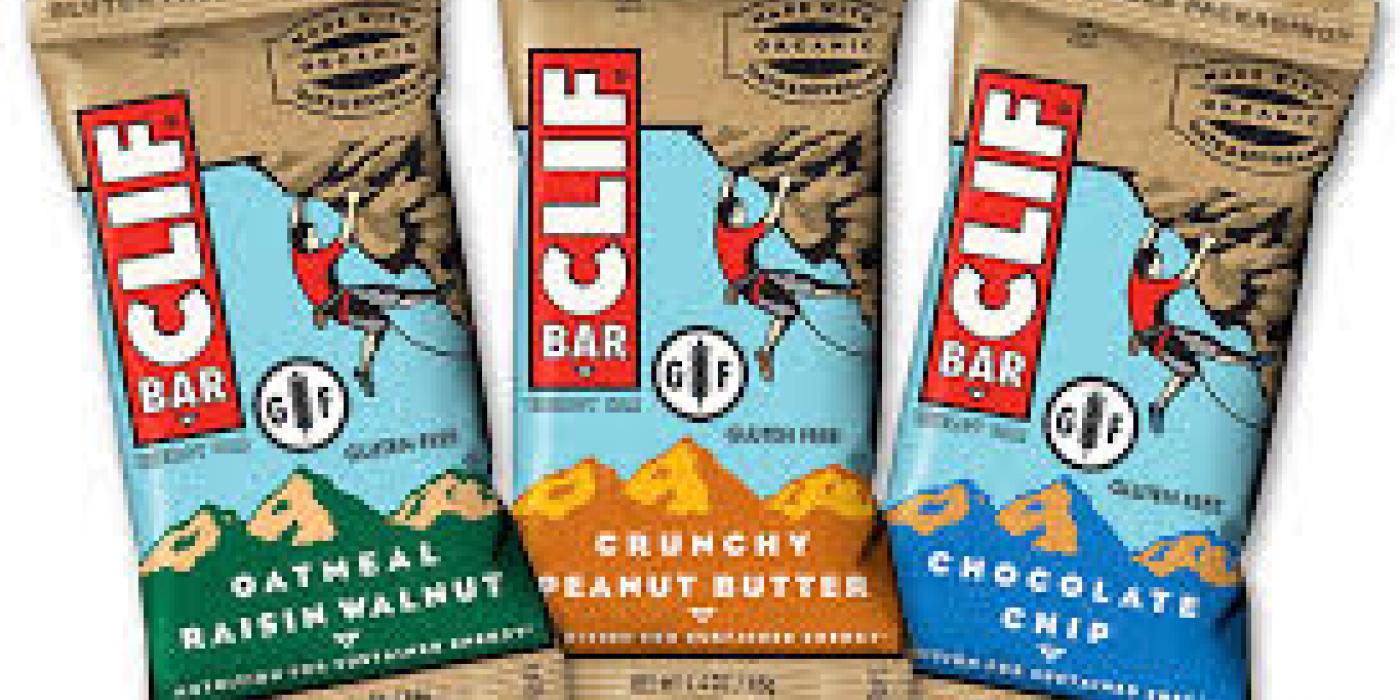
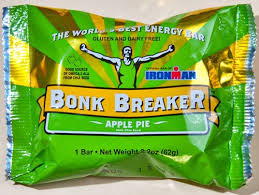
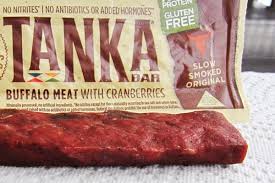
Energy bars you can grab at the store can be darn good, but after a while you may grow tired of the same old flavors. For example there are Kind Bars, Larabars, Clif Bars, Bonk Breakers, fruit squeezes, Cave Man, Tanka and varieties of jerky. These I have found to be quite good and of course there are many B-side brands that make gluten free granola bar options. However, with that being said, I can only eat so many of them before I want something else.
Sandwiches and Wraps
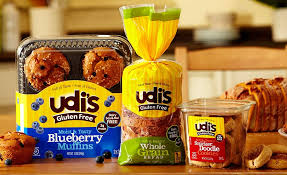
Sandwiches and wraps are actually pretty easy - if you can find bread that you like (or if you can make homemade GF bread, which isn't easy to do, and can be time consuming). There are many brands of gluten free breads and wraps and most are found in the freezer section of your local grocery store. I have found two to be very good, UDI's, and Live G Free. Live G Free is an Aldi brand, yes Aldi's, they are actually quite good for sandwiches and wraps and they have plenty of other GF products that are quite good as well. Now you have the bread just fill it with veggies, meats, cheeses, and hummus - whatever you want.
Turkey maple wrap
- Find a GF wrap you like and layer it with turkey and Swiss cheese and a healthy helping of roasted red peppers
- Sprinkle with some black pepper
- Now in a separate bowl take your favorite mayo and mix into it a bit of garlic powder and maple syrup. Use as much maple syrup as you like to make it as sweet as you like. Roll it up tight, wrap in foil and you are done. If you find the wrap is breaking as you roll it, just warm it up a bit to soften it up
Nutella, peanut butter, and bacon sandwich
I know this might sound like a prank but it's actually pretty good and bacon makes everything taste better. You have a grand mix of sweet and salty.
- Find a GF bread that you like and toast it to your desired darkness - this will assure the bread holds together better in your pack.
- Spread one side with Nutella.
- Spread the other side with natural peanut butter, I prefer smooth.
- Now fry up some bacon until it is fairly crisp but not burned and brittle.
- Chop up the bacon into small pieces and sprinkle between the slices of bread insuring that the bacon is well imbedded into the spreads.
- I like to pack this in a small Tupperware container to assure it doesn't get crushed.
Granola base
I change up this granola recipe all the time but I always use the same base The optional ingredients make it different and don't effect the base results. Choose your optional ingredients and add to the dry mix before you combine with the wet mix.
Mix together dry ingredients:
- 4 cups of GF quick oats
- 1/2 teaspoon of salt
- 1.5 cups of GF baking mix
- 1 cup of brown sugar
Mix together wet ingredients:
- 1 cup of canola oil
- 1 cup molasses
- 1 tablespoon vanilla
- 2 large eggs, beaten
Optional ingredients:
- Coconut
- Maple Syrup
- Chocolate Chips
- Nuts
- Peanut Butter Drizzle (after baking)
- Nutella Drizzle (after baking)
- Chia Seeds
- Sunflower Seeds
- Dried Fruits
- Cinnamon
- Nutmeg
- Almond extract rather than vanilla
- Mint extract
Bake it
- This tends to vary depending on the optional ingredients you use. Set your oven to 350 to preheat.
- Spray and flour a pan.
- Spread your mix in a pan, I prefer a two-inch pan to make more of a moist bar rather than a dry crisp one. Spread it out on a cookie sheet for more of a crispier bar.
- Bake for as long as it takes - I hate to put it that way but truly it does differ quite a bit. Look for the edges to be a nice golden brown and it should pull away from the pan easily. Usually around an hour.
- Let cool before cutting.
- Top with PB or Nutella drizzle. To make a nice drizzle just warm the PB or Nutella in a small sauce pan with a teaspoon of butter
Brigadeiros (Brazilian Chocolate Fudge Balls)
These should be illegal - that's how good they are. Three ingredients, that's it!
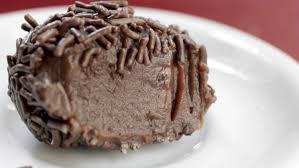
- In a medium saucepan over medium heat, combine 3 tablespoons of cocoa, 1 tablespoon of butter, and one 14-ounce can of sweetened condensed milk.
- Cook, stirring constantly until thickened, about 10-15 minutes. The mixture when stirred should take a few seconds before coming back together
- Remove from heat and let rest until cool enough to handle.
- Form into small balls and roll in some sort of goodness like coconut, cocoa powder, granulated sugar, or sprinkles.
- Store and carry in a plastic, tightly sealed container, separate layers with wax paper.
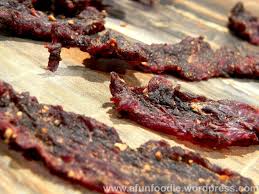
Oven dried jerky
Meat is everything.
- Choose lean cuts of beef, pork, chicken, turkey, fish, or wild game — 1 pound sliced no more than 1/4 inch thick.
- Marinade: Mix together 1 cup Worcestershire sauce, 1 can of Coke, 2 tablespoons of crushed garlic, 2 tablespoons of black pepper, dash of hot sauce, and 1 cup packed brown sugar. To spice it up add red pepper flakes OR Marinade: equal parts of hot sauce and maple syrup and 2 tablespoons of crushed garlic
- Marinate 48 hours.
- When ready preheat oven to 175-degrees for pork, chicken, turkey, wild game, and beef, 200-degrees for fish.
- Layer meat on a rack on a cookie sheet to avoid having to flip it, otherwise directly onto cookie sheet and flip two times through the drying process. If using a rack spin it once or twice during the process.
- The drying process will take several hours, 5-6 hours is a good guideline, but the thinner the meat the quicker it dehydrates.
- The meat should be a bit tough and not brittle.
Now that you have some great recipes, are you ready to hit the trails? Plan your Adirondack vacation now, and start shopping for all the ingredients you need to make your own sweet trail treats!


